
 English
 中文简体
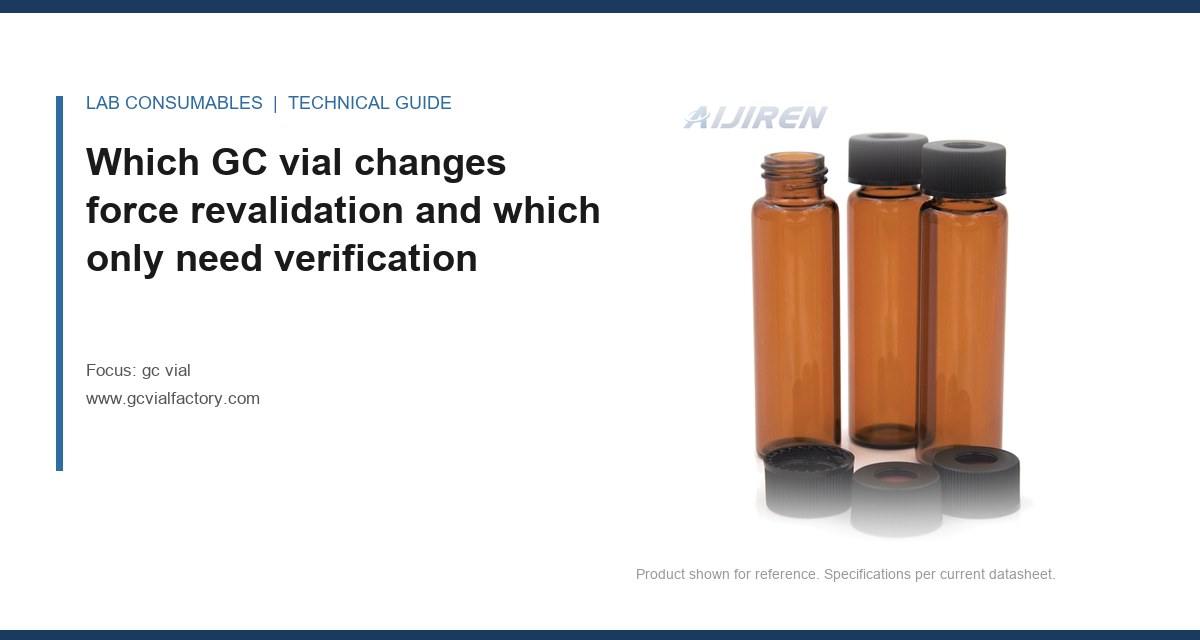
A 40-vial sequence on a split/splitless inlet came back with the internal standard area drifting 6.8% low across the run, and the check standard failed at injection 31. The column was three weeks old, the inlet liner had 180 injections on it, and the septa had been changed that morning. The actual cause was a supplier switch on the GC vial: the new lot had a 0.5 mm thinner crimp flange, and 14 of the 40 caps sat 0.2 mm low enough that the autosampler needle entered at a slight angle. Nothing on the certificate of analysis flagged it. That is the situation this article is about. When a GC vial supplier or lot changes, you need a written rule for what forces revalidation, what only needs verification, and how to record it so an inspector signs off without a finding.
Most labs over-revalidate. A lot number change from the same supplier on the same tooling is not a revalidation event. A supplier change on the same drawing is usually a verification event. The line that actually matters is whether the change can move a measured result beyond the method’s acceptance criteria. If it can, you revalidate. If it cannot, you verify and file the evidence.
I use a three-tier rule. Tier 1 changes touch the sample contact surface or the seal geometry and force full revalidation. Tier 2 changes affect the physical fit in the autosampler but not the chemistry, and need a verification run. Tier 3 changes are administrative and need only a documented review.
Tier 1: revalidation triggers
- Glass composition change. Borosilicate Type I to Type II, or a switch to a lower-grade glass with higher extractable metals. Silanol activity and trace sodium at the surface can shift peak shape for polar analytes, especially at low concentrations.
- Septum compound change. Silicone to silicone/PTFE laminate, or a change in the silicone cure chemistry. Extractable siloxanes show up as a repeating mass series at m/z 73, 147, 207, 281 in scan mode. This is the change that most often produces new interference peaks in the 15 to 30 minute window.
- Septum thickness change of more than 0.2 mm on a crimp cap, which changes the compression force at a fixed crimp setting and changes the puncture path.
- Crimp flange geometry change. Any change to the flange thickness or the 11 mm outside diameter of the seal ring, because it changes the seal compression and the autosampler needle entry height.
- Any change to the interior surface treatment. Deactivation, silanization, or a switch to a “low adsorption” glass. This is a chemistry change even if the certificate says the material is the same.
- Closure torque or crimp specification change that the supplier applies on their line, if you buy pre-crimped or pre-assembled vials.
Tier 2: verification triggers
- Lot change from the same supplier on the same drawing. Run a system suitability check and one injection of a mid-level standard, compare to the historical mean, and file it. No method revalidation.
- Supplier change where the drawing is identical and the supplier has provided a dimensional report and a septum extractables profile that matches your historical data. Run a 10-injection verification with the system suitability criteria from your method.
- Color or marking change on the cap or the label. Verify the autosampler still reads the barcode or the tray position, and move on.
- Packaging change (bag to tray, tray to box) that could affect cleanliness. Verify with a blank injection and a visual inspection of the first 20 vials.
Tier 3: review only
- Supplier name change on the certificate with no change to the manufacturing site.
- Certificate format change.
- Documentation and paperwork changes that do not touch the physical part.
The test is whether the change can reach the sample. If it can, treat it as Tier 1. If you are unsure, treat it as Tier 1. The cost of a revalidation run is a day of instrument time. The cost of a failed audit finding on an unvalidated change is a lot more than that.
What a supplier change actually moves in the chromatogram
A supplier change is not one variable. It is a bundle of variables that arrive together. When you switch from one manufacturer to another, you are usually changing the glass draw, the annealing schedule, the septum compound, the crimp tooling, and the washing process at the same time. That is why a supplier change is the most common trigger for a hidden shift in a method that was otherwise stable for years.
I have seen a supplier switch move the internal standard response by 4% with no change to the method, the column, or the operator. The cause was a different septum compound with a slightly higher bleed rate at the inlet temperature. The bleed raised the baseline under the internal standard peak and the integration algorithm moved the baseline anchor. The peak was there. The integration was wrong. That is a Tier 1 event that a lot change would not have caused.
The same logic applies to the physical fit. A 9 mm crimp neck has a defined seal geometry, but the flange thickness and the seal ring diameter can vary by a few tenths of a millimeter between suppliers. At a fixed autosampler needle depth, that variation changes where the needle enters the septum. A needle that enters at an angle cores the septum instead of piercing it, and the core falls into the vial. If you have not read the piece on why the vial is part of the analytical method, that is the mechanism in one sentence.
The four measurements that tell you whether a supplier change is safe
Before you commit to a full revalidation, run these four checks on the new lot. They take about two hours and they will tell you whether the change is a Tier 1 event or a Tier 2 event in most cases.
- Crimp flange thickness. Measure 20 vials with a micrometer at the seal ring. The spread should be within 0.1 mm of the drawing. A wider spread means the crimp tooling is worn.
- Septum puncture count. Run 50 injections on a single vial with a 23-gauge needle and inspect the septum under a stereo microscope at 20x. A good silicone/PTFE septum holds 50 to 100 punctures before coring. A poor one cores at 20.
- Blank injection profile. Inject three empty vials from the new lot under your method’s temperature program. Compare the total ion chromatogram to the historical blank. Any new peak above the method’s reporting limit is a flag.
- Seal integrity. Crimp 10 vials at your standard setting and check the seal with a leak tester or a pressure decay test. A seal that leaks at 0.5 psi is a seal that will lose 2% of a volatile analyte in 24 hours on the autosampler tray.
A decision table for the change-control entry
The change-control entry is where most labs lose the audit. The inspector does not want a paragraph saying “the new vials were evaluated and found acceptable.” They want to see the trigger, the risk assessment, the test data, and the acceptance criteria in a form they can trace. Here is the table I use. It fits on one page and it has survived three FDA inspections and two ISO 17025 assessments without a finding.
| Field | What goes in it | Example entry |
|---|---|---|
| Change trigger | The specific event that started the change | Supplier change: vial manufacturer A to manufacturer B, same 2 mL clear crimp vial, 11 mm seal |
| Risk tier | Tier 1, 2, or 3 with the reason | Tier 1: septum compound changed from silicone to silicone/PTFE laminate |
| Affected methods | Method numbers and analytes | GC-014 (EPA 8270 semivolatiles), GC-021 (residual solvents) |
| Pre-change baseline | The last three system suitability results | ISTD area RSD 1.8%, 2.1%, 1.9% over 30 injections |
| Verification or revalidation test | The specific test and the number of injections | Full revalidation: 6-point calibration, 10 replicate injections at mid-level, blank, LOD/LOQ check |
| Acceptance criteria | The pass/fail numbers, stated before the test | ISTD area RSD ≤ 3.0%, retention time shift ≤ 0.02 min, no new peaks above 0.5 ppm in blank |
| Result | The measured numbers | ISTD RSD 2.4%, RT shift 0.01 min, blank clean |
| Disposition | Approved, approved with conditions, or rejected | Approved. Old lot retained for 30 days as a comparator. |
| Approval | Name, role, date | Lab manager, QA, date |
The critical discipline is writing the acceptance criteria before you run the test. An inspector who sees acceptance criteria written after the data was collected will ask whether the criteria were chosen to fit the result. That is a finding, even if the result was good. Write the criteria, sign and date them, then run the test.
Two field cases where the change-control entry saved the method
Case 1: the lot that passed the certificate and failed the blank
A contract lab switched vial suppliers to save about $0.04 per vial on a 40,000-vial annual spend. The new supplier’s certificate showed the same glass type, the same septum compound, and the same dimensions. The lab ran a 10-injection verification against the system suitability criteria and it passed. Six weeks later, a client method for trace chlorinated pesticides started showing a small peak at 14.2 minutes that was not in the reference standard.
The measurement that identified it was a full-scan blank injection of 10 vials from the new lot, run at the method’s inlet temperature of 250 °C. The peak was present in 8 of 10 blanks at 0.3 to 0.7 ppb, just above the method reporting limit. The old lot showed nothing above 0.1 ppb. The cause was a change in the washing process at the new supplier: the vials were rinsed in a different solvent grade and the final drying step was shorter, leaving a residue that volatilized in the inlet.
The fix was a Tier 1 revalidation with a new acceptance criterion: no peak above 0.2 ppb in a 10-vial blank at the method inlet temperature. The supplier reformulated the wash and the lot passed. The change-control entry recorded the blank test as a required part of every future supplier change, which is the lesson. A certificate that certifies dimensions does not certify cleanliness, and the blank injection is the only test that catches it.
Case 2: the crimp flange that was 0.4 mm thin
An environmental lab running EPA 8260 volatile organics on a headspace autosampler changed vial lots within the same supplier. The certificate was identical. The first 200 injections were fine. Then the internal standard response dropped 9% and the surrogate recovery for one analyte fell to 62%, below the 70% lower control limit.
The measurement that identified it was a physical check: 20 vials from the new lot measured with a micrometer at the crimp flange. The mean flange thickness was 0.4 mm below the drawing, and the spread was 0.15 mm. The thin flange meant the crimp cap sat lower, and the headspace sampler’s pressurization needle did not seat fully in about 1 in 15 vials. The leak was small enough to pass a visual check and large enough to lose 9% of the internal standard.
The fix was a supplier corrective action request and a new incoming inspection: 20 vials per lot measured at the flange, with a tolerance of ±0.1 mm from the drawing and a rejection threshold at 0.2 mm. The lab also added a pressurization leak check to the headspace method setup. The change-control entry recorded the incoming inspection as a permanent control, which turned a one-time failure into a routine check that costs about 10 minutes per lot.
How to write the entry so an inspector accepts it without a finding
An inspector reviewing a supplier change is checking three things. Did you identify the change? Did you assess its effect on the method? Did you verify the assessment with data? If your entry answers those three questions with specific numbers and a signature, you are done. If it answers them with adjectives, you have a finding.
The most common mistake is treating the certificate of analysis as the risk assessment. It is not. A certificate tells you what the supplier tested. It does not tell you what changed, because most suppliers do not put a change history on the certificate. The change-control entry has to state the change in your own words, based on what you know about the supplier’s process, and then state why that change does or does not affect your method.
The five questions the entry must answer
- What changed, specifically? Not “new supplier.” State the material, the dimension, the compound, or the process step. If you do not know, call the supplier and ask. A supplier who cannot tell you what changed is a supplier who cannot support a validated method.
- Which methods are affected, and which analytes within those methods? A change that affects a semivolatile method at 300 °C may not affect a residual solvent method at 40 °C. State the temperature and the analyte class.
- What is the failure mode if the change is bad? Lost volatile analyte, new interference peak, needle coring, seal leak. Name the mechanism, not the symptom.
- What test detects that failure mode? Blank injection for cleanliness, puncture count for coring, pressure decay for seal, replicate injection for precision. The test has to match the mechanism.
- What are the acceptance criteria, and were they met? Numbers, stated before the test, with the result beside them.
If you want a model for how to structure the technical content of the entry, the EPA’s SW-846 test methods are a useful reference for how a method defines its own acceptance criteria and what a change to the method requires. You are not copying the method text, which is a separate topic. You are using the structure: a defined procedure, defined criteria, and a defined path for a change.
Where verification stops and revalidation starts, in numbers
The boundary is not philosophical. It is a number. If the change can move a result by more than one third of the method’s acceptance limit, you revalidate. If it cannot, you verify. That one-third rule is the same logic used in measurement uncertainty budgeting, and it gives you a defensible line that an inspector can follow.
Here is how it works in practice. If your method requires internal standard area RSD ≤ 3.0%, then a change that historically moves the RSD by less than 1.0% is a verification event. A change that can move it by 1.0% or more is a revalidation event. If your surrogate recovery limit is 70% to 130%, a change that can move recovery by more than 20 percentage points is a revalidation event.
Comparison of verification and revalidation scope
| Element | Verification (Tier 2) | Revalidation (Tier 1) |
|---|---|---|
| Injections | 10 at mid-level plus 1 blank | 6-point calibration, 10 replicates at 3 levels, blank, LOD/LOQ |
| Instrument time | 2 to 4 hours | 1 to 2 days |
| Acceptance criteria | System suitability from the existing method | Full method validation criteria: accuracy, precision, linearity, LOD/LOQ |
| Documentation | Change-control entry plus data | Change-control entry, revalidation report, updated method |
| Typical triggers | Lot change, packaging change, color change | Supplier change, septum compound change, glass change, flange change |
| Approval | Lab manager | Lab manager plus QA |
The numbers in the table are not arbitrary. Ten injections gives you a precision estimate with about 22% relative uncertainty on the standard deviation, which is enough to catch a 1% shift. A full revalidation at three levels is what you need to re-establish linearity and LOD after a chemistry change. If you are running a method under a regulated protocol, check the current Agilent chromatography consumables documentation and your instrument vendor’s method guidance for the specific acceptance criteria your method cites.
Operational precautions that keep a supplier change from becoming a revalidation
Most supplier changes become revalidation events because the lab did not control the variables around the vial. If you hold the rest of the system constant, a vial change is easier to isolate and easier to defend.
- Keep a reference lot. Retain 100 vials from the current approved lot in a sealed container. When a new lot arrives, run it side by side with the reference lot on the same instrument, same day, same operator. A paired comparison removes instrument drift from the result.
- Fix the crimp tool. Use one crimp tool and one setting for the comparison. A crimp tool that is 0.1 mm out of adjustment will confound a flange comparison. Check the tool against a go/no-go gauge every 500 crimps.
- Control the inlet temperature. Septum bleed is temperature-dependent. Run the comparison at the method’s actual inlet temperature, not a lower one. A bleed problem that is invisible at 200 °C can be obvious at 280 °C.
- Use the same needle. A 23-gauge needle and a 26-gauge needle core a septum differently. If you change the needle at the same time as the vial, you cannot attribute the result to either.
- Record the puncture count. For any method that reinjects from the same vial, record how many punctures the septum has taken before the run. A septum that has already been punctured 40 times behaves differently from a new one.
If your method uses a headspace autosampler, the physical fit matters more than the chemistry. A vial that sits 0.3 mm low in the tray can fail to pressurize. The same logic applies to the HPLC autosampler vial on the liquid side, where the needle depth and the seal geometry decide whether the injection volume is accurate. The principle is the same: the vial is a mechanical interface before it is a chemical container.
For labs that also handle neat standards and mobile phase, the same change-control discipline applies to the reagent bottle and to the sample vial used for the calibration curve. A change in the calibration vial is a change in the calibration, and it belongs in the same change-control log. If you want a broader view of how consumables suppliers document their materials, Thermo Fisher’s chromatography and sample handling resources and the Restek technical library both publish extractables and dimensional data that are useful when you are building the risk assessment for a supplier change.
The decision rule to put in your SOP
Write this into the change-control SOP as a single rule, and apply it to every GC vial supplier or lot change without exception: if the change touches the sample contact surface, the septum compound, the glass composition, or the seal geometry, revalidate. If the change touches only the physical fit or the documentation, verify with a paired comparison against a retained reference lot and file the data. If the change touches neither, review and close. State the acceptance criteria before you run the test, record the measured numbers beside them, and get a second signature on any Tier 1 entry. That rule is what an inspector is looking for, and it is what keeps a $0.04 per-vial saving from turning into a failed run at injection 31.
References & further reading
Related resources from our lab consumables network:
- Gc Vial at gcvialfactory.com
- Reagent Bottle at reagentbottleforsale.com
- Hplc Autosampler Vial at hplcautosamplervials.com
- Sample Vial at samplevialprice.com
External references and standards: