
 English
 中文简体
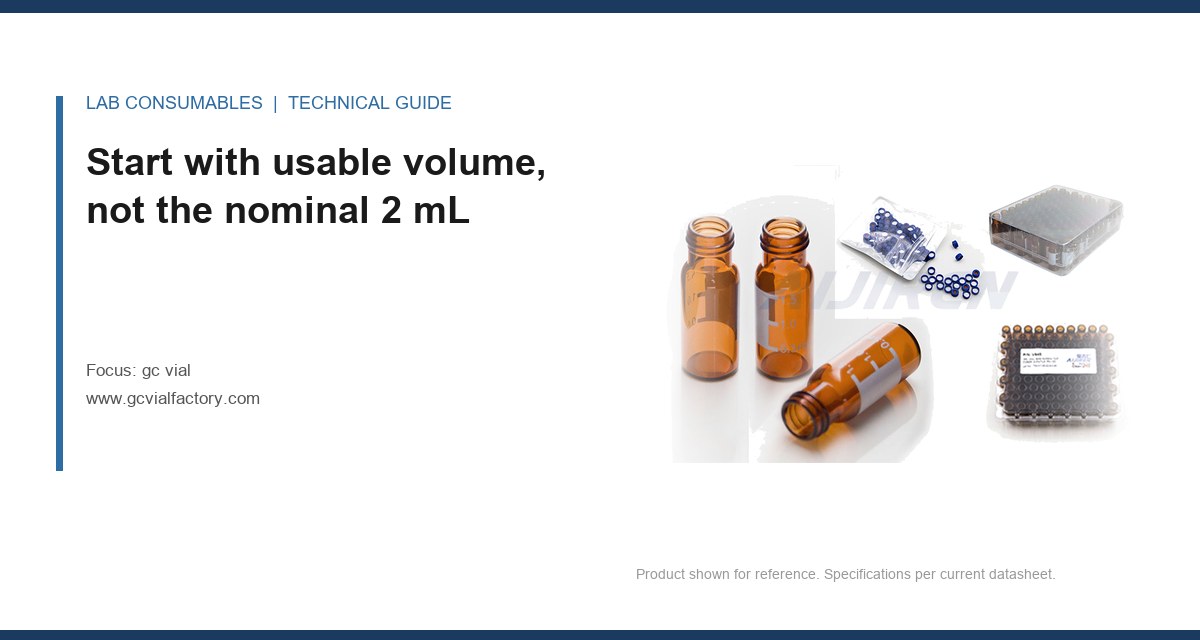
A 2 mL vial filled to 1.8 mL leaves roughly 0.2 mL of headspace, and I have watched that exact fill volume turn a 150-injection sequence into a septa-failure study: the needle punched the same spot 150 times, the septum cored at injection 90, and the last 60 runs carried a silicone fragment peak at retention time 8.3 minutes. The chemist blamed the column. The problem was sizing: the vial was chosen for capacity, not for the injection count the method actually demanded. Getting gc vial capacity and puncture life right for a given injection count is arithmetic, and it starts with three numbers most buyers never put on the purchase requisition.
A standard 2 mL GC vial is a 12 x 32 mm borosilicate shell with a 6 mm neck ID and an 11 mm finish. That is the physical envelope. The usable liquid volume is smaller, and the working volume is smaller still once you account for the autosampler needle depth and the thermal expansion of a volatile solvent.
Here is the arithmetic I use on the bench. The internal cavity of a 12 x 32 mm vial holds about 1.5 mL below the shoulder and roughly 1.8 mL to the base of the neck. The autosampler needle on most liquid injectors reaches to within 1 to 2 mm of the bottom, depending on the needle length and the vial insert. That leaves a dead volume of 50 to 100 microliters in a standard vial with no insert, and 5 to 15 microliters in a 150 microliter pulled-point insert.
The rule I apply: fill to no more than 75 to 80 percent of the usable volume. For a 2 mL vial that is 1.5 to 1.6 mL, not 1.9 mL. The reason is headspace, not spill risk. A GC autosampler draws from the headspace through a septum, and if the liquid is too close to the septum, the needle wets on the way in and carries sample into the septum bore. That wetted bore is where coring starts.
Fill volume, headspace, and the vapor plug
Volatile solvents expand. Methanol at 20 degrees C has a vapor pressure of about 97 mmHg, and a 1.8 mL fill in a 2 mL vial leaves almost no room for that vapor to equilibrate. On a hot autosampler tray at 40 degrees C, the internal pressure can push liquid up the neck and into the septum. I have pulled vials off a tray where the septum was visibly swollen and the cap had lifted 0.3 mm. That is a fill-volume error, not a cap error.
For headspace GC, the fill volume matters differently. A 1 mL fill in a 20 mL headspace vial gives a phase ratio that sets the sensitivity. Change the fill by 10 percent and you change the partition equilibrium. Size the headspace vial to the method, not to the sample you happen to have. If you are running split/splitless liquid injection, the 2 mL vial is the workhorse, but only if the fill stays under 1.6 mL.
When the sample is scarce
If you have 200 microliters of sample and a 2 mL vial, you are wasting 1.4 mL of headspace on a sample that cannot fill it. Use a 300 microliter vial with a 6 mm neck, or a 2 mL vial with a 250 microliter insert. The insert changes the dead volume, so recalculate: a 250 microliter insert in a 2 mL vial leaves about 30 microliters of dead volume at the bottom. Fill to 200 microliters and the needle still reaches the liquid. Fill to 100 microliters and the needle draws air.
This is where the sample vial catalog gets useful: the insert and the vial are a matched pair, and the matched pair has a stated minimum volume. Buy them together or verify the geometry against the autosampler needle depth before you commit a method to them.
Dead volume is a fixed cost per injection, and it sets your minimum sample
Every injection consumes a fixed volume that never reaches the column. Call it the dead volume: the liquid below the needle tip plus the liquid in the needle plus the liquid in the injection loop. On a typical 10 microliter loop with a 1 microliter injection, the loop flush and needle wash can consume 5 to 20 microliters per injection. That is the number that decides how many injections a given fill volume supports.
Here is the arithmetic. A 1.5 mL fill in a 2 mL vial, with a 10 microliter injection and a 15 microliter per-injection dead volume, supports about 60 injections before the liquid level drops below the needle. If your sequence is 96 injections, you need either a larger fill (up to the 1.6 mL limit), a smaller injection volume, or a second vial. This is the calculation that should drive the vial choice, and almost nobody runs it before the method is validated.
The injection-count arithmetic
Write it as a formula and keep it on the method sheet:
- Usable volume = fill volume minus dead volume (50 to 100 microliters for a standard vial, 5 to 15 microliters for an insert).
- Per-injection consumption = injection volume plus needle/wash dead volume (typically 5 to 20 microliters).
- Injection count = usable volume divided by per-injection consumption.
For a 1.5 mL fill, a 75 microliter dead volume, a 10 microliter injection, and a 15 microliter wash: (1500 – 75) / 25 = 57 injections. If the method calls for 120 injections from one vial, the fill has to be 1.6 mL and the wash has to come down, or the sequence has to be split across two vials. The second option is usually correct, because the septum also has a puncture limit.
Septum puncture life is a specification, and it is not the same as puncture count
A septum is rated for a number of punctures before it cores. That number is a test result, not a guarantee, and it depends on needle gauge, needle bevel, septum thickness, and the temperature of the tray. A 11 mm silicone/PTFE septum on a 9 mm crimp cap is typically rated for 50 to 100 punctures in a room-temperature autosampler. A pre-slit septum can double that. A molded septum with a PTFE facing on both sides holds up better against coring but can leak if the needle does not fully penetrate.
The puncture count is not the same as the puncture life. If the autosampler punches the same hole every time, the septum fails at the low end of the range. If the needle walks a few tenths of a millimeter between injections, the septum lasts longer. Most autosamplers do not walk the needle, so plan on the low end.
Needle gauge changes the arithmetic
A 23 gauge needle has an outer diameter of 0.64 mm. A 26 gauge needle is 0.46 mm. The hole a 23 gauge needle leaves is 1.9 times the area of a 26 gauge hole, and the coring risk scales with that area. If your method uses a 23 gauge needle, derate the septum puncture life by about 40 percent. If you are running a 26 gauge needle, you can plan on the upper end of the rated range.
The bevel matters too. A sharp 22 degree bevel cuts the septum; a blunt or damaged bevel tears it. I have seen a single bent needle core three septa in a row before anyone noticed the needle was the problem. Check the needle bevel at the start of every long sequence.
The puncture-life table
Here is the working table I use for 11 mm septa on 9 mm crimp caps at room temperature, with a 10 microliter injection and a standard autosampler:
| Septum type | Needle gauge | Rated punctures | Practical punctures (same hole) |
|---|---|---|---|
| Silicone/PTFE, 1.0 mm | 23 G | 100 | 50 to 60 |
| Silicone/PTFE, 1.0 mm | 26 G | 100 | 80 to 90 |
| Pre-slit silicone/PTFE | 23 G | 150 | 100 to 120 |
| Pre-slit silicone/PTFE | 26 G | 150 | 130 to 140 |
| Molded PTFE-faced, 1.3 mm | 23 G | 80 | 40 to 50 |
These are the numbers I would put on a specification sheet. If a vendor quotes a puncture count without stating the needle gauge and the injection volume, the number is not usable. The Restek technical resources publish puncture data with the test conditions attached, which is the standard I would hold any supplier to.
Match the fill volume to the injection count before you buy the case
The decision is a two-variable problem: how much liquid the vial holds and how many times the septum can be punctured. Whichever limit is hit first sets the sequence length per vial. For most 2 mL vials with a standard septum, the septum is the limit at about 50 to 60 injections, not the liquid volume. That means a 1.5 mL fill is usually more than enough, and the real constraint is the puncture count.
So the buying decision is not “how big a vial” but “how many vials per sequence.” If the method runs 120 injections, you need three vials at 50 punctures each (with a margin), or two vials with pre-slit septa at 100 punctures each. The fill volume per vial drops to 1.0 to 1.2 mL, which is fine because the injection count per vial is capped by the septum anyway.
Case 1: the 96-well sequence that cored at injection 61
A contract lab ran a 96-injection sequence from a single 2 mL vial filled to 1.7 mL. At injection 61, a silicone peak appeared at 8.1 minutes and grew through the rest of the run. The analyst checked the septum and found a visible tear at the needle entry. The fill volume was not the problem; the puncture count was. The fix was to split the sequence across two vials with a 1.2 mL fill each, and to switch to a pre-slit septum. The silicone peak disappeared, and the sequence ran to completion. The lesson: the septum rating, not the vial volume, set the sequence length.
Case 2: the 40 degree tray that lifted the cap
A different lab ran a volatile method with a 1.9 mL fill in a 2 mL vial on an autosampler tray held at 40 degrees C. After 30 injections, the caps began to lift and the injection volume RSD climbed from 1.2 percent to 4.8 percent. The cause was thermal expansion of the methanol pushing liquid into the septum bore, which swelled the silicone and lifted the crimp. The fix was to drop the fill to 1.4 mL and to use a PTFE-faced septum that resisted solvent swelling. The RSD came back to 1.1 percent. The vial was not defective; it was overfilled for the tray temperature.
Torque, crimp depth, and the seal that decides whether the fill volume matters
None of the fill-volume arithmetic matters if the cap does not seal. On a 9 mm crimp cap, the crimper setting controls the seal. The target is a crimp that compresses the septum by about 0.5 mm without cutting it. A manual crimper set too tight will cut the septum and create a leak path at the crimp edge. Set too loose, and the cap lifts under pressure.
I check crimp depth with a caliper: the cap skirt should sit 0.1 to 0.2 mm below the vial shoulder after crimping. For a screw-thread vial, the torque target is 0.5 to 0.8 N·m for an 11 mm screw cap, and higher torque does not improve the seal once the septum is compressed. Over-torque deforms the cap and can crack the neck. The GPI 11 mm finish and the ISO 4796 dimensional standard both define the neck geometry, and a cap that meets the standard will seal at the specified torque.
The troubleshooting checklist
When a sequence fails, work through these in order. I have never needed more than the first four:
- Injection volume RSD above 2 percent: check the fill volume against the 75 to 80 percent rule, then check the cap torque.
- A new peak at a fixed retention time appearing after injection 50: suspect septum coring. Inspect the septum under a loupe and count the punctures.
- Cap lifting or septum swelling on a heated tray: reduce the fill volume by 0.3 to 0.5 mL and switch to a PTFE-faced septum.
- Needle drawing air before the sequence ends: recalculate the dead volume and the injection count. The fill is too low for the number of injections.
- Visible tear at the needle entry: check the needle bevel and gauge. A bent needle cores septa faster than a sharp one.
- Leak at the crimp edge: check the crimp depth with a caliper. Target 0.1 to 0.2 mm below the shoulder.
The U.S. EPA SW-846 test methods set the container and holding-time rules for environmental samples, and those rules assume a sealed vial with a known fill volume. If the fill is wrong, the holding time is meaningless because the sample has already lost volatiles through the septum.
What to put on the purchase requisition
The requisition should state four numbers: the fill volume, the injection volume, the injection count per vial, and the needle gauge. Add the septum type and the tray temperature. That is enough for any supplier to match a vial and septum to the method. If the supplier cannot answer the puncture-count question with a needle gauge attached, the answer is not usable.
For most liquid-injection GC methods, the recommendation is a 2 mL, 12 x 32 mm vial with a 9 mm crimp neck, filled to 1.2 to 1.5 mL, with a pre-slit silicone/PTFE septum rated for 100 punctures at 23 gauge, and a sequence split so no vial exceeds 80 punctures. For headspace methods, size the vial to the phase ratio and treat the septum as a consumable with a 50-puncture replacement interval. The Agilent GC accessories and Thermo Fisher sample handling catalogs both publish the dimensional and puncture data you need to check a supplier’s claim.
The same arithmetic applies to the LC side: an HPLC autosampler vial with a 1.5 mL fill and a 100 microliter injection has a different dead volume, but the fill-to-injection-count logic is identical. And if the method uses a large-volume headspace or purge-and-trap step, the reagent bottle that feeds the standard preparation has its own fill and headspace rules that should be checked at the same time.
The decision rule
Size the vial so that the septum puncture limit is reached before the liquid level drops below the needle, and fill to 75 to 80 percent of usable volume so the headspace can absorb thermal expansion. In practice that means a 1.2 to 1.5 mL fill in a 2 mL vial, a pre-slit septum rated for 100 punctures at your needle gauge, and a sequence split so no vial exceeds 80 punctures. If the injection count exceeds that, add a vial; do not add fill volume. The GC vial that fits the method is the one whose puncture rating and fill volume both clear the sequence length with margin, and that margin is the number you should be buying against.
References & further reading
Related resources from our lab consumables network:
- Gc Vial at gcvialfactory.com
- Reagent Bottle at reagentbottleforsale.com
- Hplc Autosampler Vial at hplcautosamplervials.com
- Sample Vial at samplevialprice.com
External references and standards: