
 English
 中文简体
中文简体
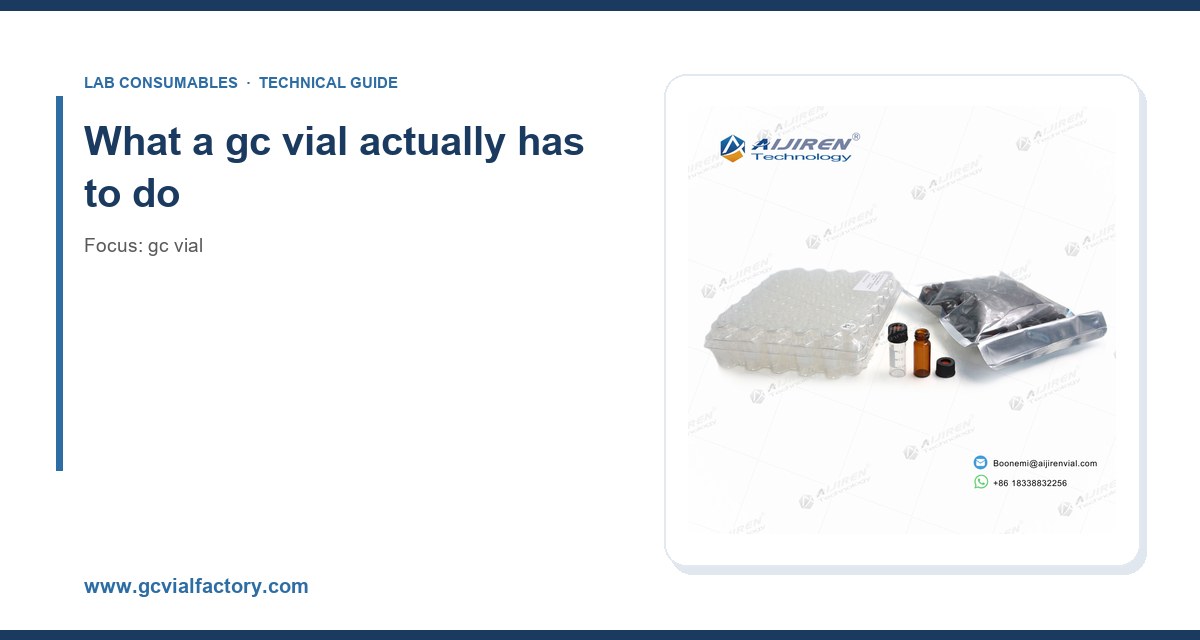
I have watched a lab save four thousand dollars on vials and then lose a month of instrument time to septum coring. The culprit was a soft silicone-rubber septum on a 9 mm screw-thread vial run at 280 °C, and the symptom was a drifting baseline plus ghost peaks that nobody could reproduce. That single episode shaped how I buy vials now: I spec them the way I spec a column, by temperature, by injection count, by the actual autosampler on the bench. This guide is the checklist I wish someone had handed me fifteen years ago.
A GC vial is not a passive cup. It is a small, pressurized, temperature-cycled vessel that has to do four jobs at once: hold a defined liquid volume, present a consistent headspace, seal against carrier gas and solvent vapor, and survive repeated needle penetration without shedding particles into the sample. Get any one of those wrong and you get a problem that looks like an instrument fault but is really a consumable fault.
The design constraints are tighter than most people realize. A standard 2 mL autosampler vial is nominally 12 × 32 mm (diameter × height) with an 11 mm crimp or screw opening. The 1.5 mL variant keeps the same 11 mm neck but reduces body height to about 32 mm overall with a narrower taper. Get the dimensions wrong by a millimeter and the autosampler gripper either drops the vial or jams the tray. I have seen a whole run abort at 3 a.m. because a supplier shipped 12 × 32 mm bodies with a neck that sat 0.4 mm too high for a fixed-height needle guide.
The volume printed on the box (2 mL, 1.5 mL) is a nominal fill, not a maximum. A 2 mL vial is typically filled to 1.0 to 1.5 mL to leave headspace for expansion and to keep the needle tip above the liquid surface when the autosampler draws from a fixed depth. Overfilling to the shoulder is the single most common cause of “no injection” errors I troubleshoot.
The four vial formats you will actually encounter
Most GC workflows fall into one of four formats. Pick the format first, then the material, then the closure. Doing it in the other order is how you end up with a beautiful PTFE-lined septum that does not fit your crimper.
Crimp-top 11 mm vials
The classic. An 11 mm aluminum crimp seal with a septum, applied with a hand or pneumatic crimper. Crimp vials give the most reliable seal for long runs and high temperatures because the aluminum deforms permanently around the neck. The trade-off is that you cannot reopen them without destroying the seal, and a badly adjusted crimper will crack the neck or leave a loose cap that leaks. Target a crimp height that leaves the seal flat and even, roughly 5.5 to 6.0 mm from the top of the cap to the vial shoulder on most 11 mm systems. If you can spin the cap by hand, it is loose.
Screw-thread 9 mm vials
The 9 mm screw-thread format has largely displaced crimp in high-throughput labs because it needs no tooling and reseals cleanly. The closure is a polypropylene cap with a septum bonded or pressed in. The weak point is torque: too little and the septum does not compress, too much and you deform the cap or extrude the septum. Most manufacturers spec a hand-tight seal, and I tell operators to tighten until the cap just stops turning, no more. If you use a torque driver, 0.8 to 1.2 N·m is the working range for most 9 mm caps; above that you start to see cap splitting on cheap polypropylene.
Snap or press-fit caps
Snap caps are fast and forgiving for ambient-temperature work but they are the first thing to fail above about 60 °C. I do not recommend them for any GC method with an inlet above 200 °C unless the manufacturer explicitly rates the closure for it. They are fine for autosampler wash vials and for short ambient runs.
Headspace and large-volume formats
If you are running headspace GC, the vial is a pressure vessel and the rules change. Headspace vials are typically 20 mm crimp or screw, 10 mL or 20 mL, with a thicker septum and a magnetic or clamp cap rated to the pressurization cycle. Do not substitute a standard 2 mL autosampler vial for a headspace vial. The wall thickness and the septum durometer are different for a reason. For workflows that sit between GC and LC, the same physical vial often does double duty, which is why I keep a stock of HPLC autosampler vials on the same shelf as the GC stock and cross-check dimensions before either run.
Glass: clear, amber, and the silanization question
Borosilicate glass (Type I, USP) is the default for GC vials because it has low extractables and tolerates the thermal cycling of an inlet. Clear glass lets you see the sample and check for particulates. Amber glass (usually a light-amber borosilicate) protects photosensitive analytes and is worth the small premium for pesticides, vitamins, and anything with a conjugated double bond.
The question I get most is whether to pay for silanized (deactivated) glass. My answer: yes, for any method that touches polar or basic analytes at low concentration. Untreated borosilicate has surface silanol groups that adsorb amines, phenols, and some pesticides, and the loss shows up as poor linearity at the low end of the calibration curve. Silanized vials cost more per unit but routinely recover 5 to 15% more signal for problematic analytes in my experience. For hydrocarbon-only methods, plain glass is fine and I would not spend the money.
Watch the manufacturing tolerance, not just the material. Good vials are molded to a wall-thickness tolerance of about ±0.1 mm and a neck concentricity that keeps the septum centered under the needle. Cheap vials with visible mold seams at the neck are the ones that core septa and leave glass shards in the tray.
Septum selection: the decision that makes or breaks a run
The septum is the most abused component in the whole system. It gets pierced, heated, and exposed to solvent vapor on every injection. Choosing it correctly is worth more than any other single decision in this guide.
Silicone rubber
Soft, highly re-sealing, excellent for ambient and low-temperature work, and cheap. It is also the worst choice for hot inlets because it degrades and off-gasses. I cap silicone septa at about 200 °C for short runs and avoid them entirely above that.
PTFE-faced silicone
The workhorse. A thin PTFE film on the sample side stops the silicone from contacting the solvent and reduces extractables, while the silicone behind it provides the reseal. Rated to roughly 250 °C on most data sheets. Good for the majority of routine methods. The failure mode is delamination: if the PTFE bond is poor, the film lifts after a few hundred punctures and you get a leak that looks like a septum coring.
Bimodal and molded PTFE/silicone
Better construction, with the PTFE molded into the silicone rather than glued. These hold up to 300 °C and thousands of punctures. This is what I put on any method running an inlet at 280 °C or above, and on any autosampler that pierces the same septum repeatedly across a long sequence.
Butyl and specialty rubbers
Butyl has low gas permeability, which matters for headspace and for any analyte that is volatile enough to escape through the septum. It is less temperature-tolerant than silicone. Use it when the analyte is small and volatile, not when the inlet is hot.
Puncture counts and when to change
Manufacturers quote puncture ratings, and they are optimistic. A molded PTFE/silicone septum is often rated for 1,000+ punctures, but in a hot inlet I plan on replacing it well before that. My working rule: change the septum every 100 to 200 injections on a hot method, every 500 on a cool one, and immediately if you see a baseline rise, a retention-time shift, or a new ghost peak. A septum costs cents; a lost sequence costs hours.
A comparison table you can actually use at the bench
Here is the decision matrix I keep taped inside the supply cabinet. Numbers are typical working values, not marketing maximums.
- Crimp 11 mm, PTFE/silicone: inlet up to 250 °C, reseal after crimping, ~500 punctures, best for long unattended runs, needs crimper and consistent crimp height.
- Screw 9 mm, molded PTFE/silicone: inlet up to 300 °C, resealable, ~1,000 punctures, hand-tight to 0.8–1.2 N·m, best all-round choice for high-throughput labs.
- Snap cap, silicone: inlet up to ~60 °C only, fast, cheap, ~200 punctures, fine for wash vials and ambient work, not for hot inlets.
- Headspace 20 mm, butyl or PTFE/silicone: pressurization cycles, low gas permeability, thicker septum, use only with a rated headspace cap and clamp.
If you want the full dimensional and material cross-reference, the GC vial catalog is a reasonable place to start, and I cross-check every new lot against the instrument maker’s own consumables list, such as the Agilent chromatography consumables and columns pages, before I commit a production method to a new part number.
Matching the vial to the autosampler, not the other way round
Every autosampler has a preferred vial geometry and a gripper that is unforgiving about deviation. Before you buy 10,000 vials, put one in the tray and run a full sequence. Things to check:
- Tray fit: the vial should drop in and lift out without resistance. A tight fit means the diameter is over spec.
- Needle depth: confirm the needle tip sits above the liquid at your fill volume. A 2 mL vial filled to 1.5 mL puts the tip close to the bottom on many fixed-depth samplers.
- Gripper clearance: the cap must clear the gripper jaws. Tall caps on short vials are a classic jam.
- Septum centering: a needle that hits off-center cores the septum faster and can bend. Check concentricity on a sample of ten vials, not one.
The instrument vendor’s sample-handling documentation is the authority here, and the Thermo Fisher chromatography and sample handling resources are a good cross-reference if you run their platforms. When in doubt, buy a small trial pack from two suppliers and run them side by side for a week.
Cleanliness, certificates, and the extractables trap
For trace analysis, the vial itself is a contamination source. Residual mold-release agents, glass dust, and packaging fibers all show up as background. If you run EPA methods under U.S. EPA SW-846, or any method with low detection limits, buy vials with a documented cleanliness grade and a certificate of analysis. “Certified” should mean a specified extractables level, not just a nice logo on the box.
My practical rules:
- For trace work, buy pre-cleaned, certified vials and store them capped until use.
- Never blow out a vial with shop air. Use filtered, oil-free air or nitrogen if you must dry one.
- Rinse with the same solvent as the sample, not with water, if the method is organic.
- Keep a lot number log. When a contamination problem appears, the first question is always “which lot?”
If you also handle standards and mobile phases, the same cleanliness logic applies to your reagent bottle stock, and I audit both together because contamination rarely respects the boundary between the two.
Operational precautions that prevent most failures
Most vial problems are operator problems. These are the ones I train on:
- Torque discipline: hand-tight only on 9 mm caps, and check your crimper height weekly on 11 mm. A loose cap leaks; an over-tight one splits.
- Fill volume: keep to the method’s stated volume. Overfilling causes needle immersion and carryover; underfilling increases headspace and changes partitioning.
- Temperature ceiling: never run a septum above its rated temperature, even for one injection. Degradation is cumulative.
- Solvent compatibility: check the septum against your diluent. Chlorinated solvents attack some rubbers; strong acids attack the aluminum crimp.
- Storage: keep vials in the original bag, capped, away from solvent vapors and sunlight. Amber glass still needs the dark.
- Lot tracking: record lot numbers in the run log. It turns a two-week investigation into a two-minute check.
For method development and troubleshooting background, the Restek technical resources for chromatography are worth bookmarking; their guidance on inlet and septum behavior has saved me more than once.
Troubleshooting checklist: symptom to cause
When a run goes wrong, work this list before you blame the column.
- Ghost peaks or rising baseline: septum degradation or bleed. Check inlet temperature vs. septum rating, replace septum, rerun a blank.
- Retention-time drift: leak at the vial cap or septum. Re-crimp or re-torque, leak-test the inlet.
- No injection / autosampler error: vial geometry, overfill, or a jammed gripper. Check dimensions and fill volume.
- Poor low-end linearity: analyte adsorption on untreated glass. Switch to silanized vials.
- Carryover between samples: needle touching liquid or a damaged septum holding residue. Raise needle depth, replace septum.
- Glass particles in the tray: coring from an off-center needle or a hard septum. Check concentricity and septum durometer.
- Variable peak area (RSD above 2%): inconsistent sealing. Audit crimp height or cap torque across a batch.
If you run a lot of small-volume work, keep a stock of sample vial inserts and confirm they fit the same 11 mm neck before you commit to a format.
What I recommend, with numbers
For a typical GC lab running hot inlets and long sequences, here is the spec I would sign off on today:
- Format: 9 mm screw-thread, 12 × 32 mm, 2 mL nominal, 1.5 mL working fill.
- Glass: Type I borosilicate, silanized for polar or basic analytes, amber for photosensitive work.
- Septum: molded PTFE/silicone, rated to 300 °C, replaced every 100 to 200 injections on hot methods.
- Cap torque: hand-tight, 0.8 to 1.2 N·m if using a driver.
- Crimp alternative: 11 mm aluminum, crimp height 5.5 to 6.0 mm, checked weekly.
- Certification: certificate of analysis with stated extractables for trace work.
Buy a trial pack first. Run it for a week against your current stock on the same method, and compare RSD, baseline noise, and septum life. The numbers will tell you more than any data sheet.
A GC vial is a cheap part doing an expensive job, and the cost of getting it wrong is measured in instrument time, not in cents per unit. Spec the format to your autosampler, spec the septum to your inlet temperature, buy certified glass for trace work, and change septa on a schedule instead of on a failure. Do those four things and the vial stops being a variable in your method.
References & further reading
Related resources from our lab consumables network:
- Gc Vial at gcvialfactory.com
- Reagent Bottle at reagentbottleforsale.com
- Hplc Autosampler Vial at hplcautosamplervials.com
- Sample Vial at samplevialprice.com
External references and standards: